
Looking to add some flair to your wardrobe without breaking the bank? DTF (Direct-to-Film) transfers are an exciting, user-friendly way to customize your clothing collection. Whether you want to showcase your personality, promote your brand, or experiment with designs, DTF transfers offer vibrant, long-lasting prints that work on a wide range of fabrics. Here’s a guide to how DTF transfers can transform your clothing and how easy they are to apply.
Why Choose DTF Transfers?
DTF transfer printing is popular for its flexibility, durability, and ability to create high-resolution designs on various fabric types, including cotton, polyester, and even blends. Here’s why DTF transfers are the perfect DIY solution:

- Bright, Vivid Colors: The prints maintain brightness even after multiple washes.
- Durable: DTF transfers are resistant to cracking, fading, and peeling.
- Wide Compatibility: Works on a variety of fabrics, making it versatile for different clothing items.
- No Pretreatment Needed: Unlike other printing methods, DTF doesn’t require any pretreatment, saving you time and hassle.
Step-by-Step Guide to Applying DTF Transfers
Step 1: Choose or Create Your Design
To start, create a design or choose one that reflects your style. Digital design tools like Photoshop or Illustrator work well for creating high-resolution designs that translate beautifully in DTF. Make sure the design is mirrored to print correctly on the film.
Step 2: Print the Design onto DTF Film
Using a DTF printer, print your design onto the DTF transfer film in reverse. This ensures the image will appear the right way when applied to the fabric. For vibrant colors, most DTF printers use white ink as a base layer.
Step 3: Apply DTF Transfer Powder
Once printed, cover the design with DTF transfer powder while the ink is still wet. This powder forms the adhesive layer that helps the design stick to the fabric. Shake off any excess powder, leaving only the adhesive on the printed design.
Step 4: Cure the Design
Cure the design on the transfer film by placing it under a heat press at around 325°F (163°C) for 2-3 minutes. This process “bakes” the adhesive powder onto the ink, prepping it for transfer.
Step 5: Position the Transfer on Your Clothing
Once the film is cured, place it on your clothing item with the design side down. Make sure the fabric is wrinkle-free and positioned properly.
Step 6: Apply Heat
With your heat press set to around 325°F (163°C) at medium pressure, press the transfer film onto the fabric for about 15-20 seconds. Let the fabric cool down before peeling for best results.
Step 7: Peel and Finalize
Once the transfer has cooled, peel the film away to reveal your design. For added durability, press again for 10 seconds with parchment paper on top.
Creative Ideas to Transform Your Clothing Collection
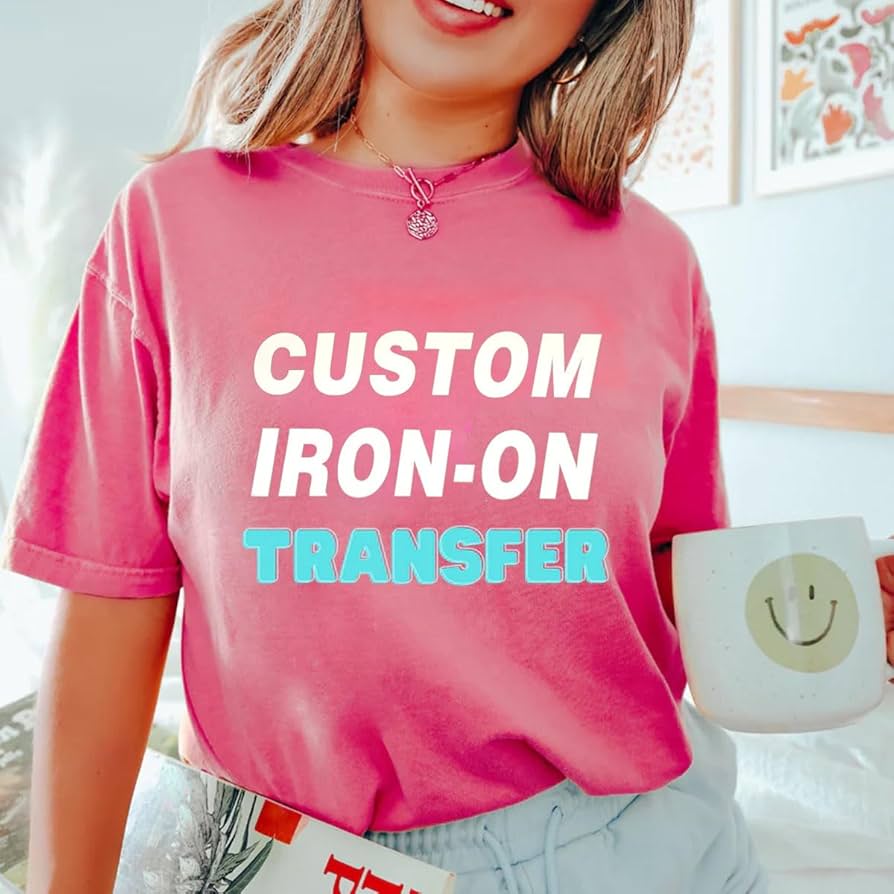
- Customized T-shirts: Create bold graphics, logos, or quotes on plain t-shirts to make them unique and personal.
- Unique Hoodies and Sweatshirts: Perfect for cool-weather fashion, DTF transfers add style without compromising comfort.
- Stylish Tote Bags: Customize tote bags with your designs or slogans, turning them into functional art pieces.
- Limited Edition Collections: If you’re a small business, DTF transfers let you create exclusive designs quickly for one-of-a-kind merchandise.
Final Thoughts
DTF transfers make it easy to refresh your wardrobe with custom designs in just a few steps. Durable, versatile, and cost-effective, DTF is a perfect choice whether you’re adding a personal touch to your clothing or creating unique apparel for others. So gather your favorite designs and start transforming your collection today!


